Visual Studio Code (VS Code) is a popular code editor used by many developers around the world. One of the most useful features of VS Code is the ability to access it remotely using the built-in Remote Development extension. However, sometimes it can be difficult to set up a remote development environment, especially if you are working on a public computer or a computer that you do not have administrative privileges on. In this article, we will explore how to use the VS Code tunnel command to start a remote tunnel on your machine and access it from any web browser.
Prerequisites
Although we can use UI in VS Code itself to start a remote tunnel, we will be using the VS Code command line interface (CLI) because it is more flexible and allows us to start a tunnel from any directory. To use the VS Code CLI, we will need to configure it first. If not done already, all you need is to add the following line to your .bashrc or .zshrc file:
code () { VSCODE_CWD="$PWD" open -n -b "com.microsoft.VSCode" --args $* ;}Starting a remote tunnel
To start a remote tunnel, we will use the code tunnel command. This command will start a remote tunnel on your machine and print the URL to access it.
code tunnel --name my-machine-name --accept-server-license-termsThe --name option is used to specify the name of the tunnel. This name will be used to identify the tunnel in the VS Code UI. The --accept-server-license-terms option is used to accept the license terms of the tunnel server, this option is required only the first time you start a tunnel. code tunnel alone but in my testing the tunnel name was not consistent.
Once the tunnel is started, it will show you the URL to access it. You can use this URL to access the tunnel from any web browser.
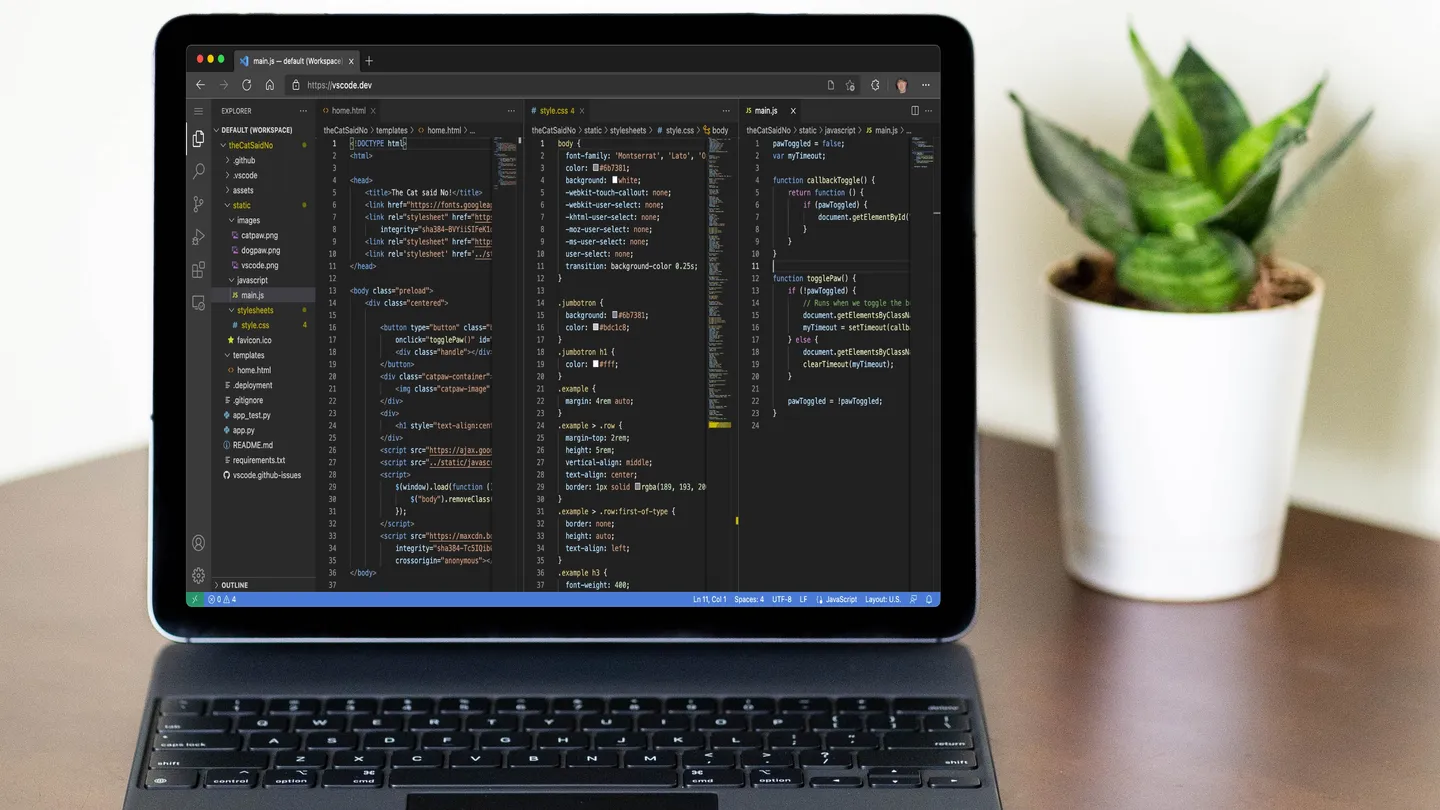
That’s it! You can now access VS Code from any web browser, including your iPad or even on a phone!
For more information about VS Code tunnels, you can check out the official documentation.